
I still remember the first time I made almond milk. It was during my culinary nutrition course in the fall of 2021, which is hard to believe was almost four years ago! Up until then, I’d always picked up the store-bought cartons. They were convenient, for sure. But when I finally tried making it myself, I was surprised by two things: how easy it was and how much I loved the taste.
Homemade almond milk has a creamy texture and a subtle, fresh flavour that’s just different from what you get in a carton. All you really need is a blender, something to strain it with, and a bit of patience. That’s it. You can keep it plain or add your own twist, such as vanilla, cinnamon, or a hint of sweetness.
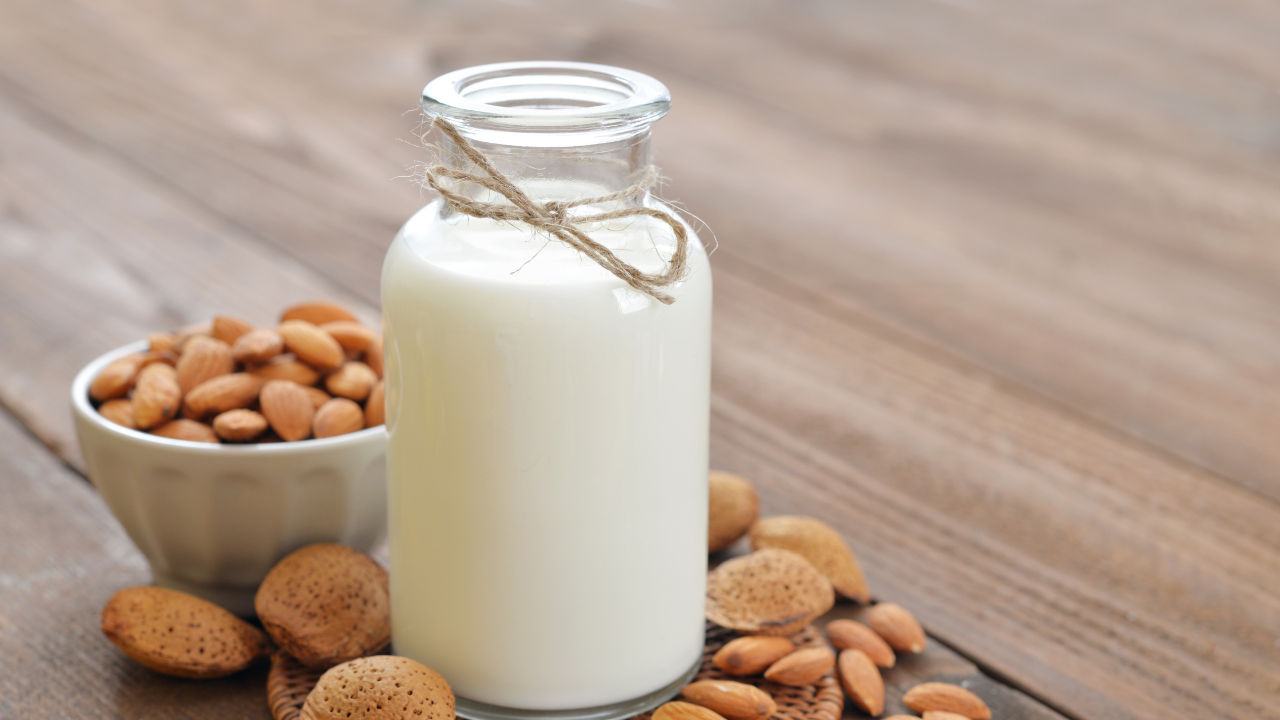
There’s something really satisfying about making your own. You know exactly what’s in it, and you can tailor it to your liking. It doesn’t last quite as long as store-bought, but the recipe makes about 4 cups—just enough to use up in a few days. I mostly use mine in smoothies, and honestly, it’s usually gone before I know it.
Ready to give it a try? Here’s the almond milk recipe I still use today:
Homemade Almond Milk
(Makes 4 cups)
Ingredients:
• 1 cup raw almonds
• 4 cups filtered water (plus more for soaking)
• Optional Add-ins: 1–2 dates (for sweetness), ½ tsp vanilla extract, pinch of sea salt, cinnamon or nutmeg
Directions:
1. Place almonds in a bowl and cover with water. Let them soak overnight (8–12 hours). This softens them and makes them easier to blend, as well as easier to digest.
2. Drain and rinse your almonds under cool water. Optional step (I like to do this): After soaking, the skins slip off easily, just pinch each almond and they pop right out. While soaking already makes almonds easier to digest, some people find removing the skins makes it even gentler on the stomach. Plus, it gives the milk a smoother texture and cleaner taste.
3. Add almonds and 4 cups of fresh filtered water to a high-speed blender. Add any extras, such as dates, vanilla, or a pinch of salt. Blend on high for 30–60 seconds until creamy.
4. Pour the mixture through a nut milk bag, cheesecloth, or clean dish towel into a large bowl or jug. Squeeze to get all the liquid out; this is your almond milk.
5. Pour into a sealed glass jar or bottle. It’ll keep in the fridge for 4–5 days. Shake before each use; separation is normal.
What About the Pulp?
After you strain your almond milk, you’ll be left with a soft almond pulp. Don’t toss it, it’s still super useful!
Here are a few easy ideas:
• Add it to muffins, pancakes, or cookies for extra texture.
• Stir it into oatmeal or mix with yogurt.
• Blend it into energy bites with oats, nut butter, and honey.
• Freeze it for later, it keeps well!
• Or dry it out and blitz it into homemade almond flour.
So if you’ve ever been curious about making your own almond milk, I say go for it. It’s simple, it tastes better (at least I think so!), and it’s a small thing that can feel really rewarding.
Let me know if you give it a try, I’d love to hear how it turns out for you!
Sign up to receive my latest posts.
We hate SPAM. We will never sell your information, for any reason.

